Late-Summer Pollinator Gap: How to Keep Bees and Butterflies Fed Until Fall
October 12, 2026 - Pollinators


October 08, 2026 - Meadow Care
October 01, 2026 - Wildflowers
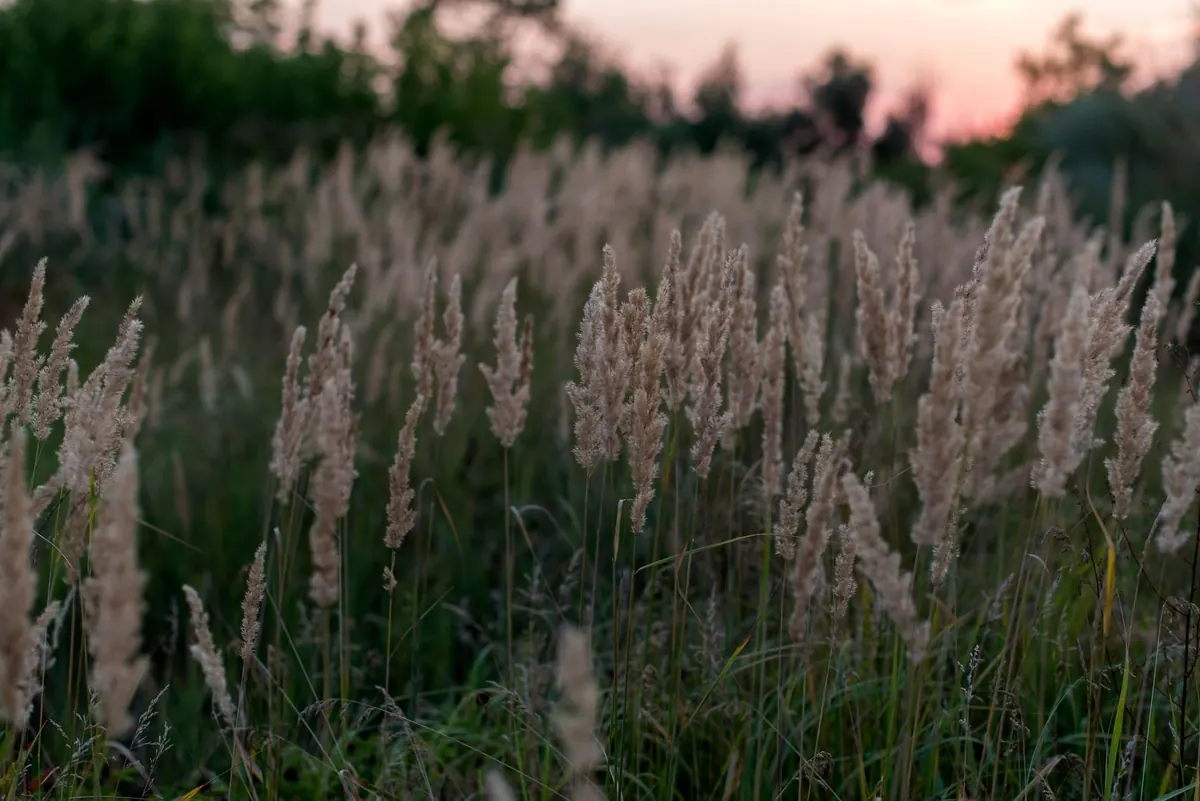
A meadow is not a lawn you stopped mowing. It is a plant community, and it takes a season or two of active steering before it can hold its own against the weeds around it. The people who end up with a waving, buzzing patch in year three are almost always the ones who did the unglamorous work in year zero. The ones left with a thistle patch are the ones who skipped a step they assumed was optional. Here are the mistakes that come up most often, and what to do instead.
Live vegetation is the single biggest reason new meadows fail. If you scatter seed into existing grass, bindweed, quackgrass, or thistle, those plants will win. They are already rooted and established, and they will outcompete seedlings that are still pushing out a first taproot.
Give yourself a full growing season for prep, and two if the site is thick with perennial weeds. A few approaches work:
Then skip the compost. Native wildflowers and grasses generally do better on lean ground. Rich, fertilized soil grows lush weeds and floppy grass that shades out everything you planted.
The bag labeled "wildflower mix" is often everything a pollinator meadow is not: a few bright non-natives, a lot of inert filler, and one or two actual natives. Some mixes even contain species that behave invasively in certain regions.
Cheap seed with low germination is not cheap. A regional native nursery or your local extension office can point you toward a mix that actually fits your ground.
Timing. Dormant seeding in late fall or winter is often the easiest route. Freeze-thaw cycles work seed into contact with the soil, and many natives need a cold, moist period before they germinate. Spring sowing works too, but you will need to keep moisture consistent.
Depth. Seed should sit on the surface and be pressed in, not buried. Mix tiny seed with sand or vermiculite so it spreads evenly, broadcast by hand or with a drop seeder, then roll it or tamp it with a board. A light rake is fine. A quarter inch deep is too deep for many species.
Rate. Follow the supplier's guidance and do not skimp. Small plantings need proportionally more seed, because edges and weed pressure take a bigger share. Split the seed in half and sow one pass in each direction, then stop. No fertilizer, no matter how bare it looks.
There are two opposite mistakes here: not mowing in year one, and mowing at the wrong time later.
In the first season, you need to mow. Weeds grow faster than your seedlings and will shade them out. When the weeds reach roughly a foot or so, mow to four to six inches and repeat through the season. The goal is to knock back annual weeds before they set seed while your slow-growing natives keep rooting. If weed seed heads have already formed, bag the clippings.
Once the meadow is established, the timing flips. Do not mow in midsummer, when the planting is feeding pollinators. Most established meadows need one cut a year, either after a hard frost or in early spring before new growth starts. If you can, mow in strips or leave a third of the stems standing through winter; overwintering insects use them. And never scalp it. Cutting below four to six inches stresses the crowns and opens bare ground for weeds.
First year sleeps, second year creeps, third year leaps.
Plenty of native perennials put nearly all their energy into roots that first year. If you see green and not much color, that is normal, not failure. You may get some first-year bloom from short-lived species, but the real show arrives in years two and three.
The related trap is pulling your own flowers. Many native seedlings look like nondescript green blobs early on, and gardeners yank them as weeds. Learn to identify what you sowed before you start clearing.
Weed seed blows in from every direction, so manage the border. A mowed path around the planting looks deliberate, gives you somewhere to walk, and slows the creep of invasive grasses. Spot-weeding those first few feet pays off all season.
Talk to neighbors before year one. Tall vegetation draws questions, and some places have rules about grass height or noxious weeds, so check your local ordinances before you plant rather than after. A short conversation, or a small sign noting pollinator habitat, prevents most friction. If anyone nearby sprays herbicides, ask them to keep drift away from your site; a single pass can set you back a full season.
A meadow rewards patience more than effort. Do the prep honestly, sow the right seed, and mow on the meadow's schedule rather than yours. By the third summer you will hear the results before you see them.
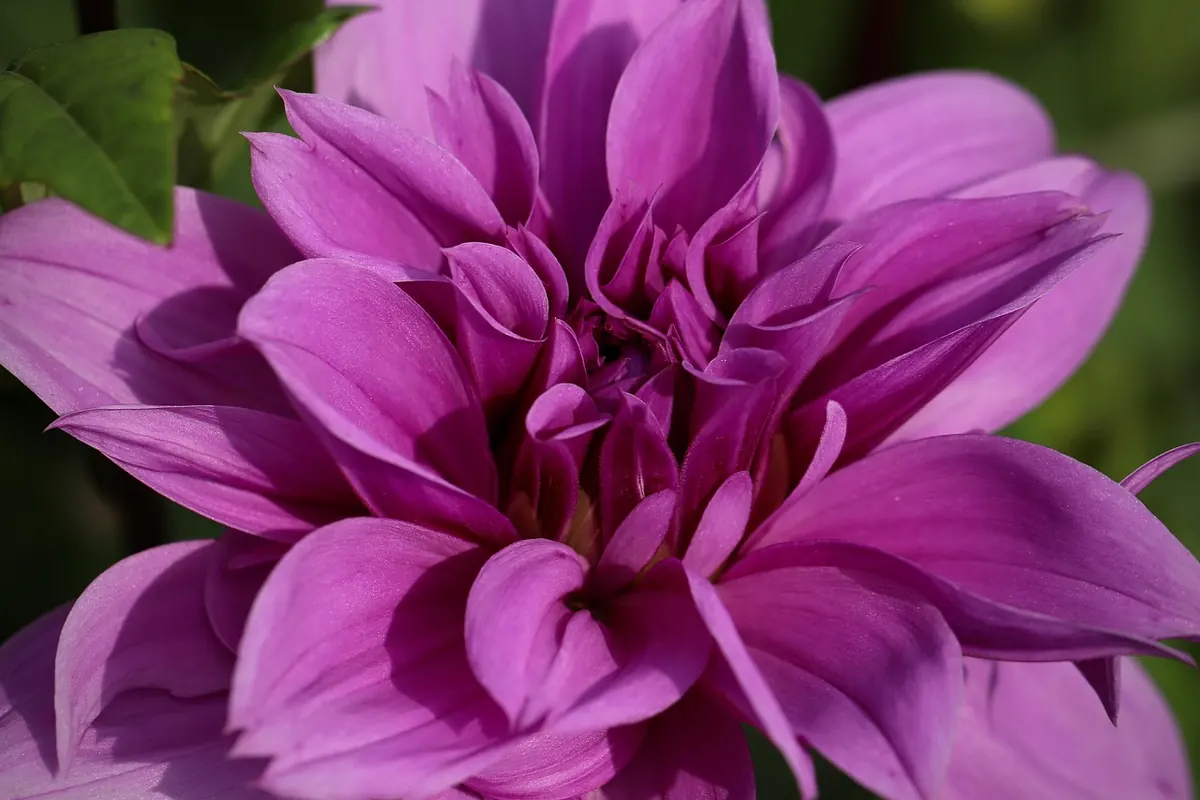
Most gardens peak in June and again in September, leaving bees and butterflies hungry in between. Here's how...
Turn a balcony or patio into a working pollinator patch with the right containers, sun, plants, and watering routine...
Copyright © 2026 The Meadow Courier. All Right Reserved.